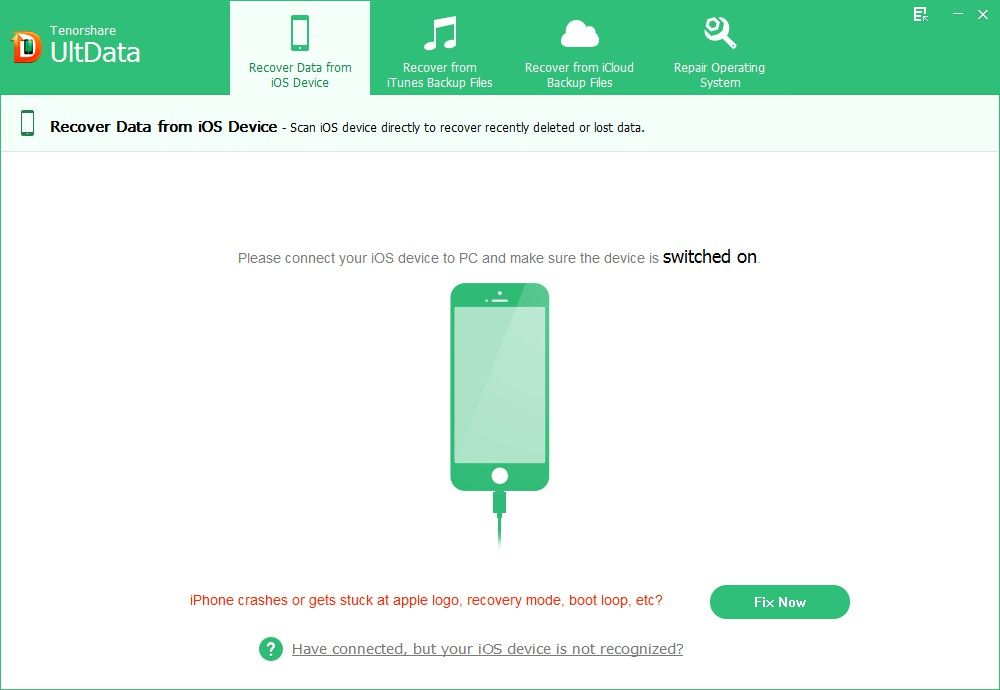
UltData(iPhone Data Recovery) allows you to recover deleted, lost contacts, photos, text messages, vice memos and other contents from iPhone, iPad, and iPod directly. However, you must place the device into DFU mode at first before you start to scan and recover lost files.
Free Download Free DownloadMethod 1: How to Enter DFU Mode with iPhone Data Recovery Running?
- Step 1: Launch UltData, and then connect your iPhone or other iOS device to your computer via a USB cable.
- Step 2: Turn off your device by following steps: hold down "Power" button in the top right corner and the "Home" button on the front button of the device at the same time. A red slider "Slide to Power off" will appear. Slide it to the right to turn off the device.
- Step 3: Click "Start" button on the main interface of this software.

- Step 4: Press "Power" and "Home" at the same time for 10 seconds. This software will count for you.
- Step 5: After 10 seconds have passed, release the "Power" button, but keep holding the Home Button for another 15 seconds. A message will tell you that you have entered DFU mode successfully.
Method 2: How to Enter DFU Mode without UltData(iPhone Data Recovery) Running?
Note: Don't run UlData(iPhone Data Recovery).
- Step 1: Connect your device to your computer.
- Step 2: Turn off the device.
- Step 3: Hold "Power" and "Home" at the same time, keep holding for 10 seconds.
- Step 4: Release "Power" button, and keep holding "Home" button. When the recovery mode warning pops up in iTunes, release "Home" button. Then your device's screen is black. You're in DFU mode.
Method 3: How to Enter DFU Mode If the "Home" Button is Broken?
If your "Home" button does not work, however, you must find another way to enter DFU mode. Luckily, by modifying the firmware file, you can place your iPhone into DFU mode in a few simple steps.
- Step 1: Navigate to www.funkyspacemonkey.com/downloads on Web browser on your computer, choose the firmware version you are running on your device to download the file.
- Step 2: Highlight the firmware IPSW file, and replace the .ipsw file extension with the .zip file extension.
- Step 3: Double-click the firmware ZIP file to unzip its contents. Click the "Firmware" -> "all_flash" to view its contents. The name of this final folder will vary according to the firmware you are using.
- Step 4:Click the file named LLB.XXXap.RELEASE.img3, write down the file's name and delete the file. The "XXX" in this file's name varies depending on the firmware you are using.
- Step 5: Click the file named applelogo.XXX.img3. Click the file a second time to edit its name. Give this file the name you wrote down in Step 4. Again, the "XXX" in this file name varies depending on the firmware you are using.
- Step 6: Exit the firmware folders and change the firmware file's extension from .zip back to .ipsw.
- Step 7: Connect the iPhone to the computer and launch iTunes. Press and hold the "Shift" key and click the "Restore" button in the iTunes application window. Locate the modified IPSW file in the Explorer window that appears, highlight it and click the "OK" button to restore your phone using the modified IPSW file. Once the device is finished being restored, it will boot directly into DFU mode.
